Making Circular Text
1. Open a new image, 350x 350, white background.
2. Now click on LAYERS/NEW VECTOR LAYER. When the properties screen pops up make sure mask enabled and mask locked is checked. For the sake of this tutorial name the layer CIRCLE.
3. Make sure your background and foreground colors are not set to white.
4. Click on the shapes tool in your toolbar. On your toolbar options box chose cirlcle, stroked and filled option chosen, line width 1, antialias and create as vector checked.
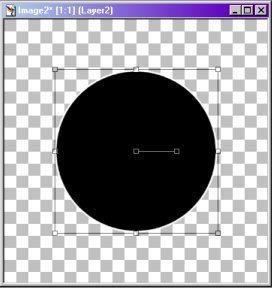
5. Place your cursor in the middle of the image, 175 x 175, and draw a circle. For the image above I pulled the circle out to 215 x 215. This part will vary however depending on how large you want your text to be and how large the text you want to use is. I now have an image that looks like this:
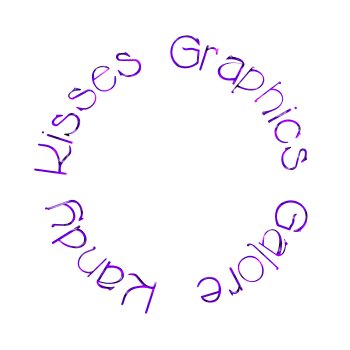
6. Now click on your text tool and put the cursor over your image. You will have a cursor that looks like a half moon. Left click your mouse and your text screen will come up. Make sure that floating is checked and that antialias is also checked. Now choose your text. For the image at the bottom of the page I used the font cricket, size 36. You may have to play around with your font and font size to get it to what you want. You can use whatever color for the font you want. Then click OK
7. You should now have your text in a circle witht he selection active. If the font size you chose was to big you can always go into EDIT/UNDO and then repeat step 6 over again.
8. If you want to use a preset on your text like Blade Pro or Eye Candy, now would be the time to do so.
9. Now go into SELECTIONS/SELECT NONE. A box will pop up that says, "The current floating selection will be defloated down to the nearest raster layer. Do you want to continue?". Click YES.
10. Now go to your layer palette and delete CIRCLE, either by dragging it onto the trash can or by right clicking and delete.
11. Now go to LAYERS/ MERGE ALL.
And Viola! A finished Image!
BACK